


Call or text (832) 303-3546

How Long Does Grout Sealer Last After Grout Cleaning?

By UpFront Home Services · Published December 20, 2018 · Updated November 17, 2026

How Long Does Grout Sealer Last After Grout Cleaning?
4.9Google rating from 4,144 reviews
Better Business Bureau A+ ratingGoogle 4.9 rating4.5 RATING

How long grout sealer lasts

In ideal conditions, grout sealer typically lasts 1 to 3 years. That is a useful range for planning, not a date when every grout line will need resealing. A busy kitchen floor may see cooking spills and frequent foot traffic, while a shower faces repeated moisture. How you clean each area also affects how well its sealer holds up.

How we clean and seal grout

We include grout sealing at no additional charge with our tile and grout cleaning service. Our cleaning includes alkaline and acid rinses before we seal the grout. If you are comparing cleaning estimates, check whether sealing is included so you can compare the work being offered, not just the initial price.

The size of the tiled area and the amount of soil affect how much cleaning work is involved. We offer free estimates for homeowners in the Houston area, including Katy. Call or text us at (832) 303-3546 to discuss your tile and grout cleaning needs.

How to care for sealed tile and grout

Remove loose dirt before it is worked into grout lines. For floors, we recommend vacuuming or sweeping and flat-head mopping or steam mopping at least once a week. With a flat-head mop, use its spray container rather than repeatedly dipping a mop into a bucket, and wash the pad after each use. If your surface and sealer allow steam mopping, use distilled water and wash the microfiber pad after use.

A neutral floor cleaner, such as Zep Neutral Floor Cleaner or Stone Pro's Crystal Clean, can help you clean without leaving the residue associated with some products. Follow the cleaner's directions and check that it suits your tile and sealer. Acidic cleaners can harm some stone and grout, so identify your surface before using one yourself.

Here’s How To Make Your Sealant Last Longer

Using Proper Cleaning Techniques

Using a mop and bucket just doesn’t cut it, it actually will make your tile and grout dirtier over time and affect the sealers ability to block out the dirt. Utilizing a Flat Head mop with a container to spray the product and clean the floor will keep your sealer in tact longer. Just be sure to wash your Flat Head Mops pad after every use. Another good piece of equipment to utilize is a Steam Mop. The main thing with using a steam mop is using distilled water and washing the microfiber pads after each use.

The Right Cleaning Product

Using proper chemistry is important to maintaining your Tile and Grout over the long term. I highly recommend using a Neutral Floor Cleaner such as Zep Neutral Floor Cleaner or Stone Pro’s Crystal Clean when cleaning your floors. These types of products won’t leave a residue and will make your investment in a Grout Cleaning Service be a little more worthwhile. 

Consistent Maintenance

Consistently Maintaining your floors is crucial for making your sealant last longer. I recommend vacuuming, sweeping, and flat head mopping / steam mopping your floors at least once per week. By keeping the dirt off the floor you will have a much lower chance of creating a stain in your grout and destroying the Grout Sealer.

How Long Does Grout Sealer Last After Grout Cleaning? questions, answered

Do not see yours? We pick up the phone.

(832) 303-3546

Grout needs to be clean and dry before sealer is applied. There is no single wait time that fits every floor: moisture left in the grout, room ventilation and the sealer's directions all matter. After cleaning, allow the grout to dry for the period required by the product you plan to use. Sealing damp grout can interfere with absorption and leave you with uneven protection.

Our general estimate is 1 to 3 years under ideal conditions. A shower may need attention sooner than a lightly used floor because it gets wet more often, but a calendar alone will not tell you when protection has worn off. Check the grout's condition periodically, especially where water regularly hits it, and use the sealer manufacturer's guidance for that product.

Sealer can make porous grout less likely to absorb a spill immediately, giving you time to wipe it up. It does not stop dirt from settling on the surface or eliminate the need to clean grout lines. On floors, regular removal of grit and prompt cleanup of cooking spills matter just as much as the coating when you want grout to stay looking clean.

Sealing adds a maintenance task because protection wears with use and may eventually need reapplication. A product applied over dirt or moisture may give uneven results, and some sealers can change the appearance of grout or adjacent tile. Sealer also is not a substitute for repairing damaged grout or addressing a water problem. Match the product to the material and test an inconspicuous spot first.

It depends on the grout. Porous cement-based grout often benefits from a compatible sealer; some nonporous grout types, including many epoxy grouts, may not need one. Grout sealer is not shower waterproofing, and it will not fix cracked joints or failed caulk. If you do not know the grout type, identify it before choosing a product or applying a sealer intended for porous grout.

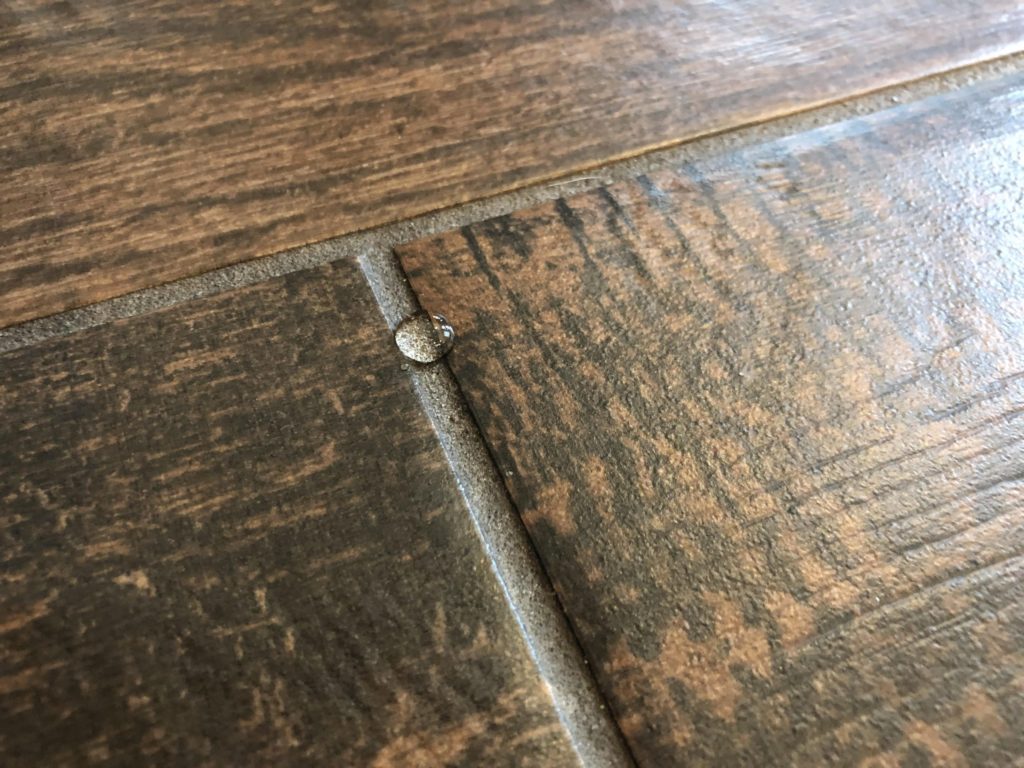
Inspect shower and bathroom grout periodically rather than resealing automatically on a fixed schedule. On a clean, dry, porous grout line, a small drop of water that soaks in quickly or darkens the grout can suggest reduced protection. Compare several areas, since soap residue can affect what you see. This check is less useful for nonporous grout, which may not require sealer in the first place.

The best choice is one compatible with your grout, tile and location. A penetrating sealer is designed to absorb into suitable porous grout, while a surface-forming product may affect its finish and have different upkeep needs. For DIY application, clean the grout, let it dry as the label directs, apply the product according to its instructions, and remove excess from tile as directed. Follow its cure time before wetting the area.

Start by removing loose grit, then use a neutral cleaner suitable for both the tile and the sealer. A washable flat-head mop pad helps avoid putting dirty water back onto floor grout. For a shower, clean away soap buildup with a product compatible with the surface and rinse as directed. Avoid assuming that aggressive acids, abrasive scrubbing or a steam mop are safe for every tile and sealer combination.