
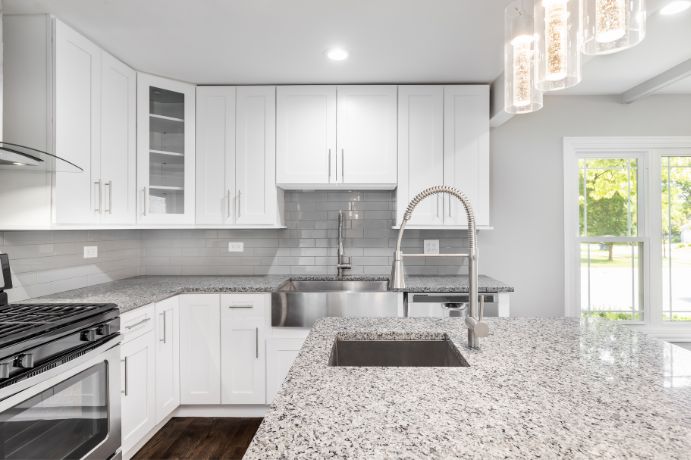


Test the existing seal before you start
Before adding sealer, place a small puddle of water on a few clean areas of your countertop, including a spot near the sink. After about 15 minutes, blot it up and compare the stone with the surrounding surface. Darkening where the water sat suggests absorption and a reason to consider resealing. If water remains on the surface and the stone does not darken, you may not need another application yet. Let each test spot dry completely before sealing.
Choose an impregnating sealer suited to your granite
For a straightforward DIY job, we recommend an impregnating sealer made for natural stone. Unlike a surface coating, this type is intended to penetrate the stone. Check the product label for compatibility with your countertop’s finish, application directions, excess-removal instructions and cure time. If you use the counter for food preparation, follow the label’s food-contact precautions and keep the surface out of use for the required cure period.
Sealing can reduce how readily suitable stone absorbs spills, but it does not make granite stain-proof or replace prompt cleanup. Adding sealer to a surface that is already resisting water can leave unnecessary product on top. A water test and the product directions are more useful than choosing a sealer by a claimed universal resealing schedule.
Clean, dry and seal the countertop
- Clear appliances, containers and other items from the surface. Wipe away debris with a microfiber towel and a suitable cleaner. We recommend Crystal Clean or a neutral floor cleaner for the initial wipe.
- Let the stone dry completely, including areas beside the sink. Do not trap cleaning moisture beneath sealer. On recently installed granite, check that the surface is free of installation debris before proceeding.
- Apply a natural-stone impregnating sealer with a paint pad, spreading a small amount across the granite. Work in manageable areas and follow your chosen product’s directions for coverage, dwell time and any additional application.
- Remove excess sealer with a microfiber towel at the time directed on the label. Observe the stated cure period before returning the countertop to normal use. A final buff with a lamb’s-wool pad and polisher can help remove residue missed during the wipe-down.
Cover edges and sink areas without leaving residue
Include accessible countertop edges and the granite around the sink when applying sealer. These areas see frequent water exposure, while fixtures, seams and nearby materials need careful application rather than pooled product. Wipe excess from the stone and any accidental drips as the sealer label directs. If a dried film or haze remains, use that product’s residue-removal instructions instead of applying an unrelated cleaner or abrasive. A persistent haze is a good reason to stop before adding another coat.
Older granite may need polishing before sealing
An older countertop with buildup, residue or a worn-looking finish may need more preparation than a wipe-down. Our restoration approach can include an initial cleaning, stone scrubbing with a polisher, another wipe-down, crystallizer and polishing, then cleaning, sealing and a final buff. We offer natural stone polishing and can polish and seal granite countertops in the Katy and Houston area.
Sealer is not a substitute for polishing, and stripping an existing finish is not a routine first step for every countertop. If you see stubborn residue, damage or an uneven finish, professional evaluation is a better choice than experimenting with a stripper or repeatedly coating the stone.
What affects professional sealing costs
The amount of granite, the condition of its finish and whether polishing is needed can change the work involved. Accessible edges, sink areas and residue that requires additional preparation also matter when comparing a sealing-only job with polishing and sealing. For a free estimate in the Katy or Houston area, call or text us at (832) 303-3546 or use our contact page.