
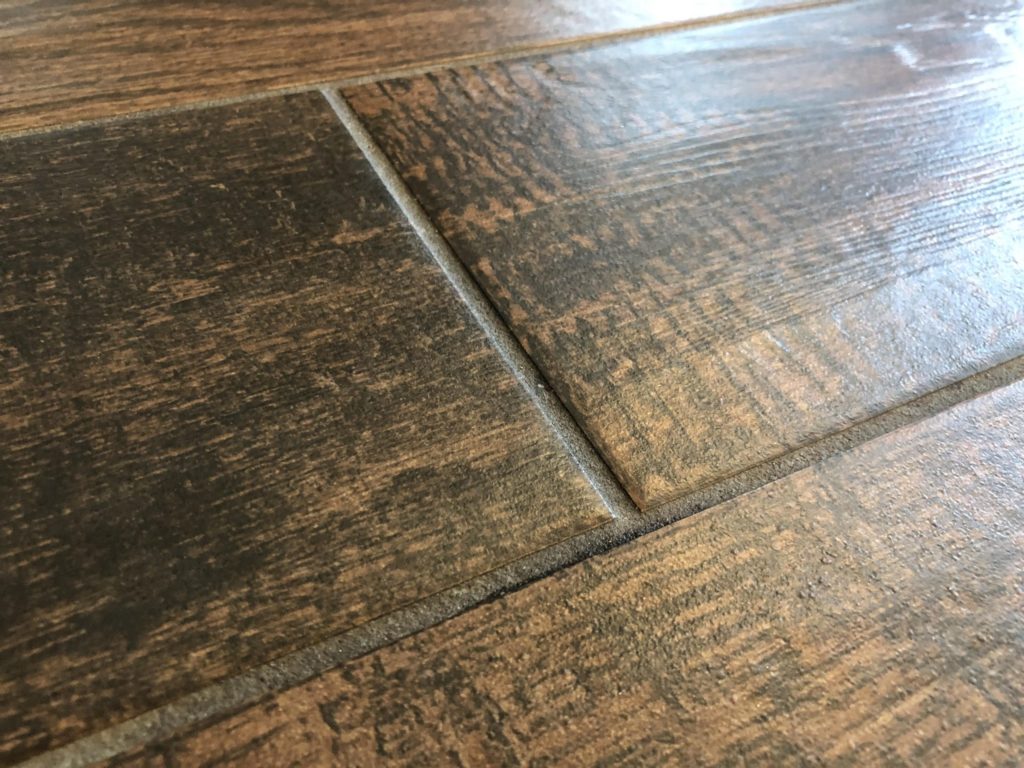


Our weekly routine for tile floors and grout
We recommend cleaning tile floors weekly to help keep loose soil from settling into grout lines. In busy entries or cooking areas, remove visible grit and crumbs sooner rather than waiting for mop day. More traffic may mean more frequent dry cleaning; mop again when soil remains after sweeping or vacuuming.
- Remove crumbs, grit and hair before adding water.
- Mop with a flat-head microfiber mop and a neutral floor cleaner labeled for your tile and grout. Follow the cleaner’s dilution directions.
- Change dirty mop water or pads so you do not spread soil across the floor. Rinse if the cleaner label directs you to.
- Check grout lines for individual marks and spot-clean those areas instead of scrubbing the entire floor.
A flat-head mop with a tank can make this routine more convenient. A compatible steam mop is another option we recommend: check both the flooring and mop manufacturers’ instructions first, and use distilled water to reduce mineral deposits in the machine and grout. Neither mop replaces prompt care when a spill reaches a grout line.
How we recommend handling spills and kitchen grease
For a fresh floor spill, lift away solids, then blot liquid rather than pushing it along the grout. Clean the affected tile and grout with a product suitable for the surface, rinse if directed, and use a grout brush only where soil remains. A shop vac may help with a large spill when its instructions permit that use. Remove grit before brushing so you do not work it into the grout.
Kitchen grout can hold cooking grease that an ordinary mop pass leaves behind. Check those areas every couple of months. When grease starts holding dirt, we recommend an alkaline cleaning product suitable for the tile and grout, followed by another mop pass with clear water. Save that stronger step for buildup rather than every cleaning day. On white grout, a fresh mark may stand out sooner, making quick spill care and a clean mop pad especially useful.
How we recommend caring for shower tile after use
For shower walls and grout, we recommend an everyday shower cleaner after use. Method Daily Shower Cleaner is one option we like; check its label against your surfaces and follow its directions. Allowing the shower to dry helps limit the damp conditions in which mold and mildew can develop. Consistent after-shower care is the better route to less scrubbing than waiting for heavy buildup.
Give the shower floor separate attention where water and residue collect. Clean it with a product labeled for its tile and grout, rinse when directed, and let the area dry. A grout brush can address buildup that a spray alone does not lift. Persistent discoloration, loose grout or a recurring damp area deserves a closer look rather than repeated hard scrubbing. Do not mix peroxide with another shower cleaner unless the product labels explicitly direct you to do so.
How tile material changes your cleaner choice
Identify the installed tile, grout and any sealant before following a cleaning recipe. A method used on ceramic tile may not suit porcelain with a different finish or natural stone. Check the product label and the surface manufacturer’s care instructions for that particular installation, especially before using steam or a stronger cleaner. For routine floor care, our starting choice is a compatible neutral cleaner, not an improvised mix.
A tile and grout care checklist to save or print
Use this checklist with a printable guide, video or household cleaning schedule. It keeps the material check and the order of work in one place:
- Identify the tile, grout and any sealant; read the cleaner and surface-care directions.
- Remove loose grit, crumbs and hair before mopping.
- Use a clean microfiber pad or cloth, and replace dirty water or pads.
- Blot spills promptly and treat affected grout lines individually.
- Rinse when the cleaner label directs you to, then allow wet areas to dry.
- Check kitchen grease and shower buildup instead of applying a stronger product everywhere.
What affects the work, cost and result
The size of the tiled area and the condition of its grout affect how much cleaning work is involved. A large floor takes more work than a small spot; heavy traffic, kitchen grease, shower moisture and soil already held in grout can add to that work. Those same conditions influence how soon buildup becomes visible again. Regular care can help extend the time between deeper cleanings, but cleaning does not repair loose grout or remove every set-in stain.
When professional tile and grout cleaning makes sense
If routine mopping and targeted cleaning still leave widespread soil or persistent discoloration, professional tile and grout cleaning may be a better next step than repeatedly scrubbing. First distinguish a mark that resists cleaning from loose or damaged grout, which cleaning alone will not repair. We offer tile and grout cleaning for homeowners in Houston, Richmond, Cypress and Katy. Review our tile and grout cleaning process, then call or text us at (832) 303-3546.